How to Install an ESD Worktop?
Installing an ESD (Electrostatic Discharge) worktop is a crucial step to ensure a static-free environment when working with sensitive electronic components. Proper installation not only protects the equipment but also helps maintain a safe and efficient workspace. Here's a step-by-step guide to help you install your ESD worktop effectively.
🔹 Materials & Tools You'll Need
ESD Worktop Mat or Surface
ESD Wrist Strap or Grounding Cord
Grounding Point (Grounding Plug, Terminal)
Screws or Adhesive (for securing the mat)
Screwdriver (if needed)
Measuring Tape or Ruler
Scissors or Utility Knife (for cutting mats)
ESD-safe Cleaning Products (to clean the surface before installation)
Grounding Cable (if necessary)
🔹 Step-by-Step Installation Process
1. Prepare the Work Surface
Clear the Area: Ensure that the workbench or table is clean and free of debris. If needed, clean the surface to remove any dust, oil, or dirt.
Measure the Worktop: Use a measuring tape to measure the size of the area where the ESD mat will be installed. Cut the mat to the required size, ensuring it fits perfectly on the worktop.
2. Clean the ESD Work Surface
Before installing the ESD mat, make sure that the work surface (the table or bench) is clean and free from contaminants that could affect the mat’s performance.
Wipe the surface with an ESD-safe cleaner to remove any dirt or oils. This ensures better adhesion if you're using an adhesive-based installation.
3. Install the ESD Mat on the Worktop
Adhesive Installation:
Peel and Stick Method: If the mat has a peel-off adhesive backing, align it with the edge of your work surface and press it down firmly to ensure it sticks well.
Cutting to Fit: Use scissors or a utility knife to trim the mat to fit the exact dimensions of your work surface. Ensure the edges are smooth for a neat finish.
Non-Adhesive Mat (with Clamps or Velcro):
Some ESD mats are designed to be held in place with clamps or Velcro straps. Simply secure the mat by placing it on the surface and fixing it with the provided hardware.
4. Ground the ESD Worktop
Grounding the Worktop is critical to allow the dissipation of static charges into the earth.
Most ESD mats have a grounding point (a snap connector or hole) where you can connect a grounding wire.
Attach the grounding cord to the grounding point on the mat.
Connect the other end of the grounding cable to a proper ground source (like an outlet ground, grounding terminal, or electrical grounding bar). If you're using a grounding plug, it should be securely connected to the electrical system's ground.
Grounding via the Mat:
Ensure a Good Grounding Connection: Double-check that the ground is correctly connected to ensure the mat will perform its function.
5. Connect Yourself to Ground
Wear an ESD Wrist Strap:
To avoid transferring static charge to the components you're handling, it's essential to use an ESD wrist strap.
Connect the wrist strap to the grounding point on the mat or directly to the ground to ensure you're properly grounded while working.
6. Test the Grounding Connection
Test the Grounding: After installation, it’s important to test whether the ESD worktop is properly grounded.
Use an ESD testing device to check the resistance between the mat surface and the ground. The resistance should typically be between 1 x 10^6 and 1 x 10^9 ohms for proper static dissipation.
🔹 Additional Tips
Periodic Maintenance: Regularly clean and inspect the ESD mat to ensure it stays effective. Re-ground the system if necessary.
Proper Handling: Handle ESD-sensitive components only while grounded, and avoid contact with ungrounded surfaces to minimize static risk.
Temperature and Humidity: Make sure the environment is at a comfortable temperature and humidity level to further reduce static buildup. ESD mats work best in controlled environments.
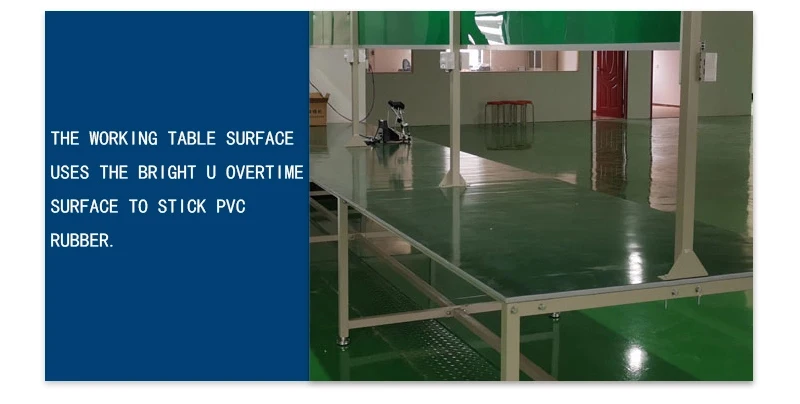
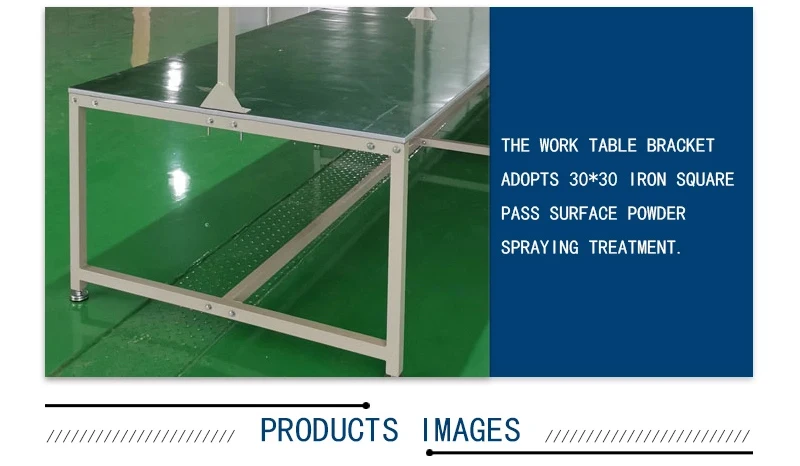
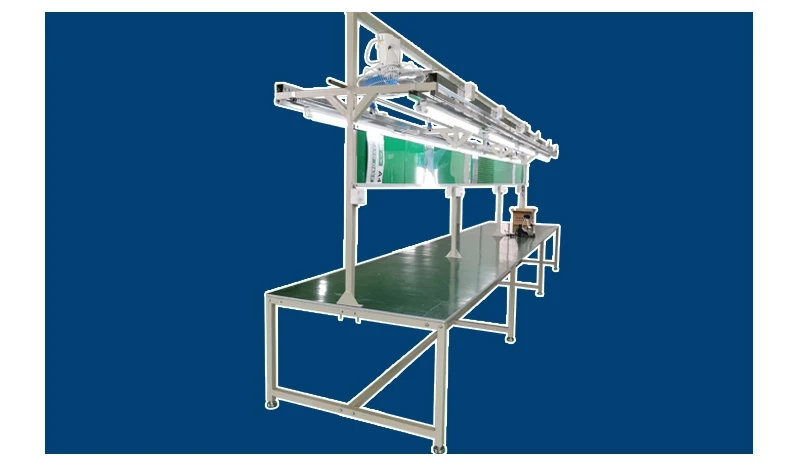
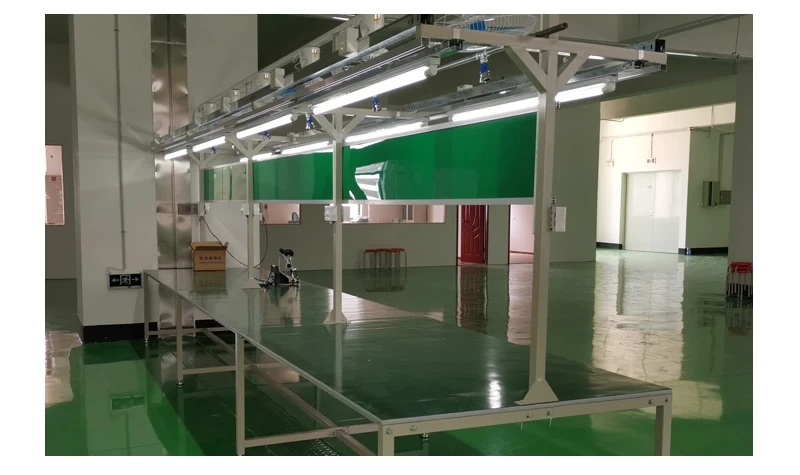
OUR ESD Worktop
Double-sided table


